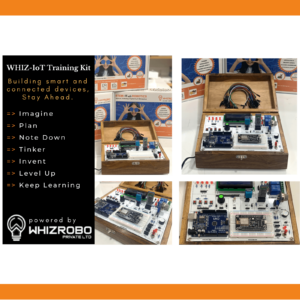
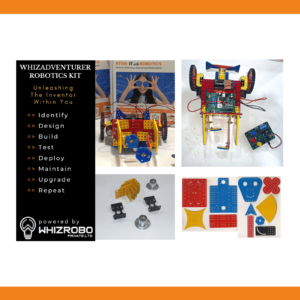
Speaking of electronics and robotics, Arduino is probably among the most heard names. This small and powerful microcontroller has changed the way people make do-it-yourself projects, prototype something, or even invent some new things. In this blog, we delve deep into the world of Arduino as we explain what it is, a brief history of it, the features, and the applications of Arduino.
What is Arduino?
Arduino represents an open-source electronics platform with easy-to-use hardware and software. It consists of the microcontroller board and the so-called software development environment, or IDE, which allows the user to write and upload code onto the board.
History of Arduino:
Arduino was born in 2003, the brainchild of Massimo Banzi and David Cuartielles from the Interaction Design Institute Ivrea in Italy. The intention, then and now, is to provide students and hobbyists with a low-cost, easy-to-use platform for exploring electronics.
Features of Arduino:
Shield Compatibility: Arduino boards are designed to be compatible with a wide range of shields, which are expansion boards that add new features and functionality.
Microcontroller Board: Arduino boards come in various shapes and sizes, but they all feature a microcontroller chip that can read inputs, process data, and control outputs.
Programming Language: Arduino uses a simplified version of C++ as its programming language, making it easy for beginners to learn and use.
Analog and Digital Pins: Arduino boards have both analog and digital pins, allowing users to connect a wide range of sensors, actuators, and other devices.
Applications of Arduino:
- Robotics: Arduino is widely used in robotics projects, from simple robotic arms to complex autonomous vehicles.
- Home Automation: Arduino can be used to automate home lighting, temperature control, and security systems.
- Wearables: Arduino is used in wearable technology, such as smart watches, fitness trackers, and smart clothing.
- Art and Design: Arduino is used in interactive art installations, lighting designs, and other creative projects.
Getting Started with Arduino:
- Arduino Board Selection: Choose a board intended for your project, like the Arduino Uno or Arduino Nano.
- Arduino IDE Installation: Installation of the Arduino IDE involves downloading and installing the software onto a computer.
- The Basics: First, work through basic tutorials and projects to learn basic Arduino programming.
- Community Participation: Join the Arduino community via online forums, social media, and/or local meetups.
Conclusion:
Arduino has democratized access to electronics and microcontrollers, empowering makers, hobbyists, and professionals to bring their ideas to life. With its ease of use, flexibility, and vast community support, Arduino is an essential tool for anyone interested in exploring the world of electronics and robotics.


